
1. Navigate to Azure Portal and search for Storage Account.
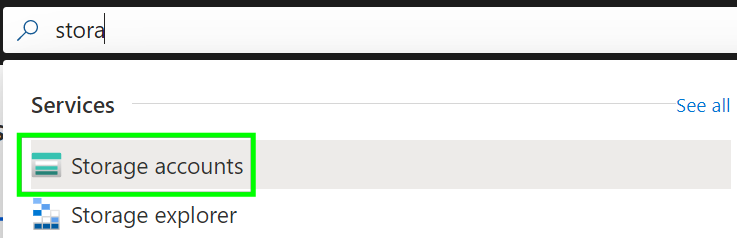
2. Click on Create to create a new Storage Account

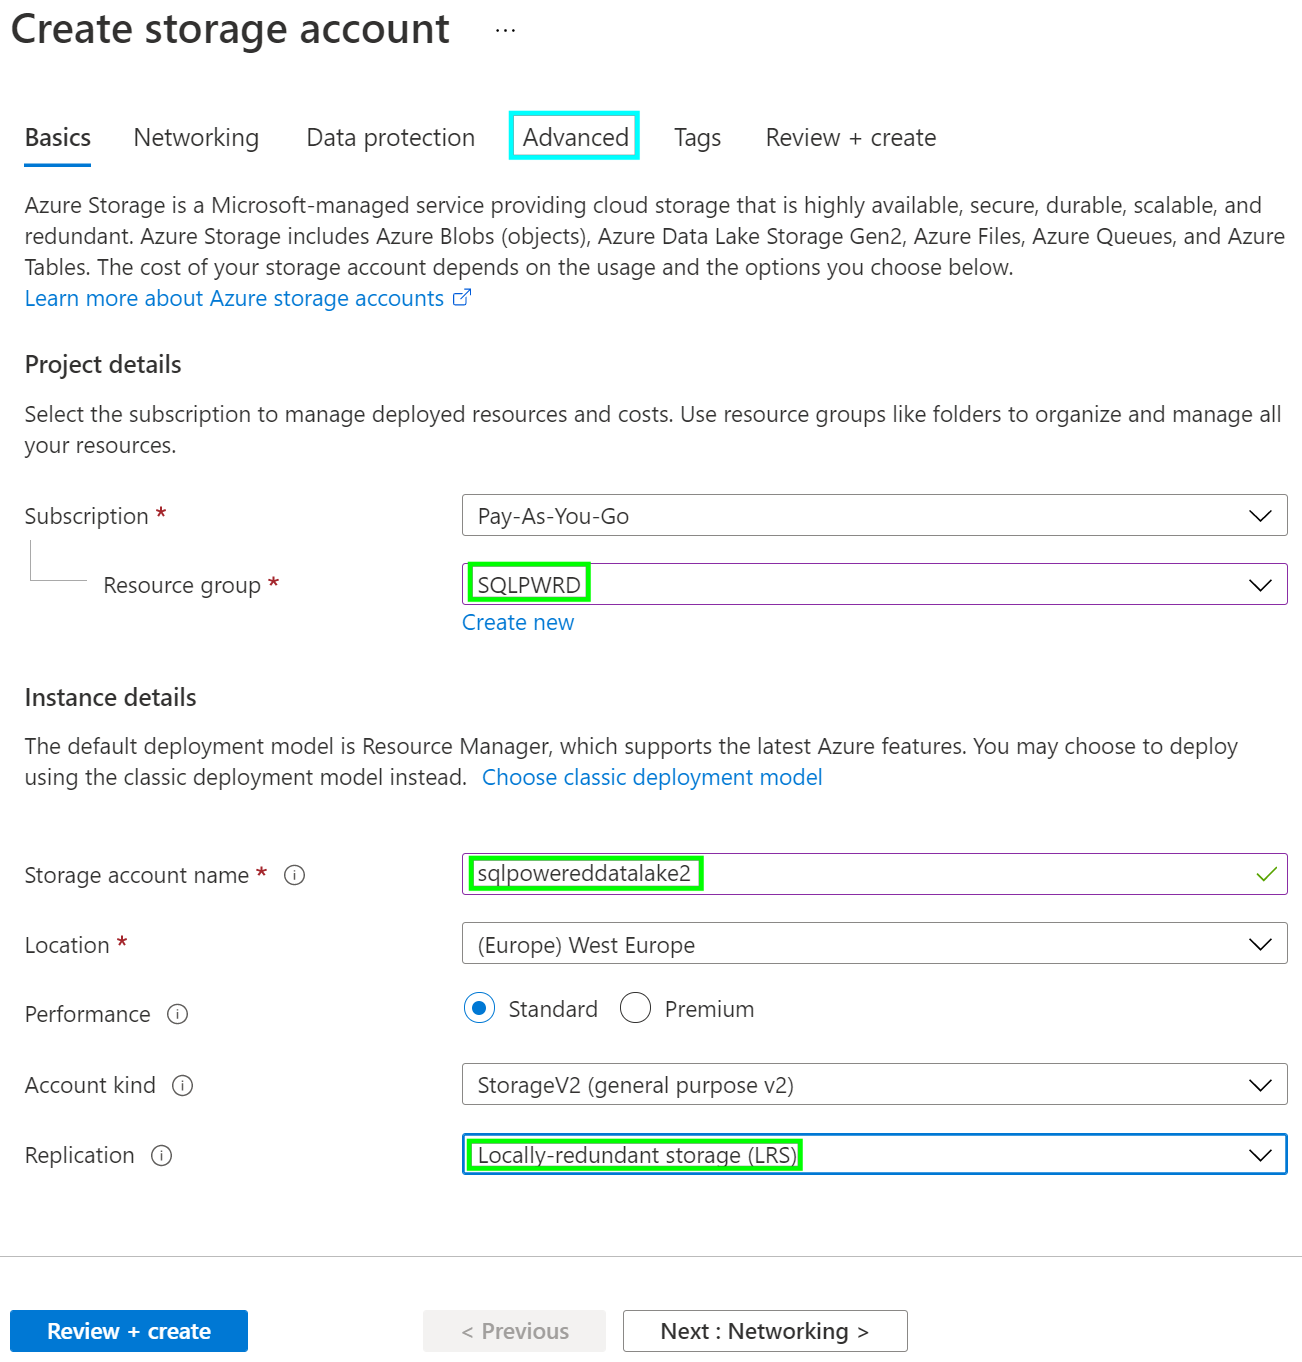
3. Fill Resource group name, Storage account name, and switch Replication to Local-only redundant storage to save money when testing. Then move to Advanced tab.
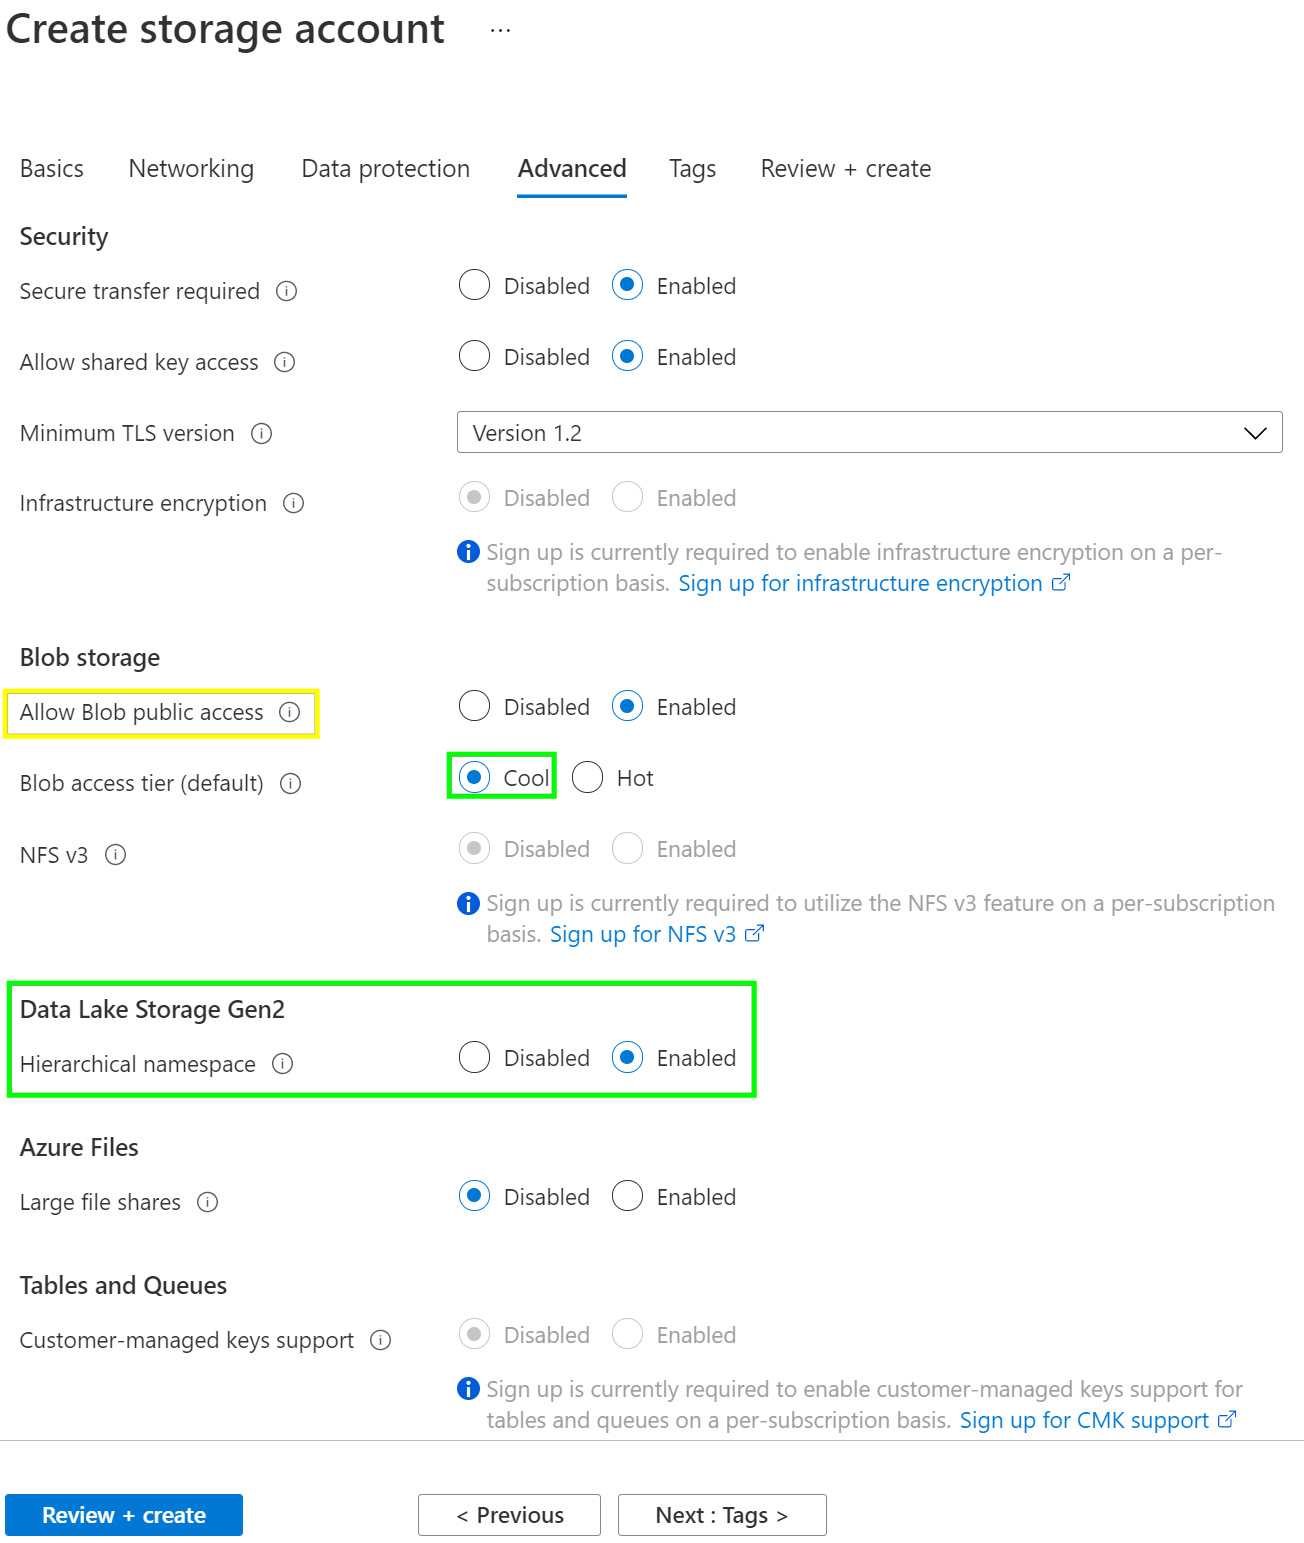
4. Allow Hierarchical namespace (this will promote the “classic” blob storage to the Azure Data Lake Storage). Switching to the Cool tier will save some resources. You may also disable Public access for better security.
5. Validate the settings and press the Create button to start the deployment.
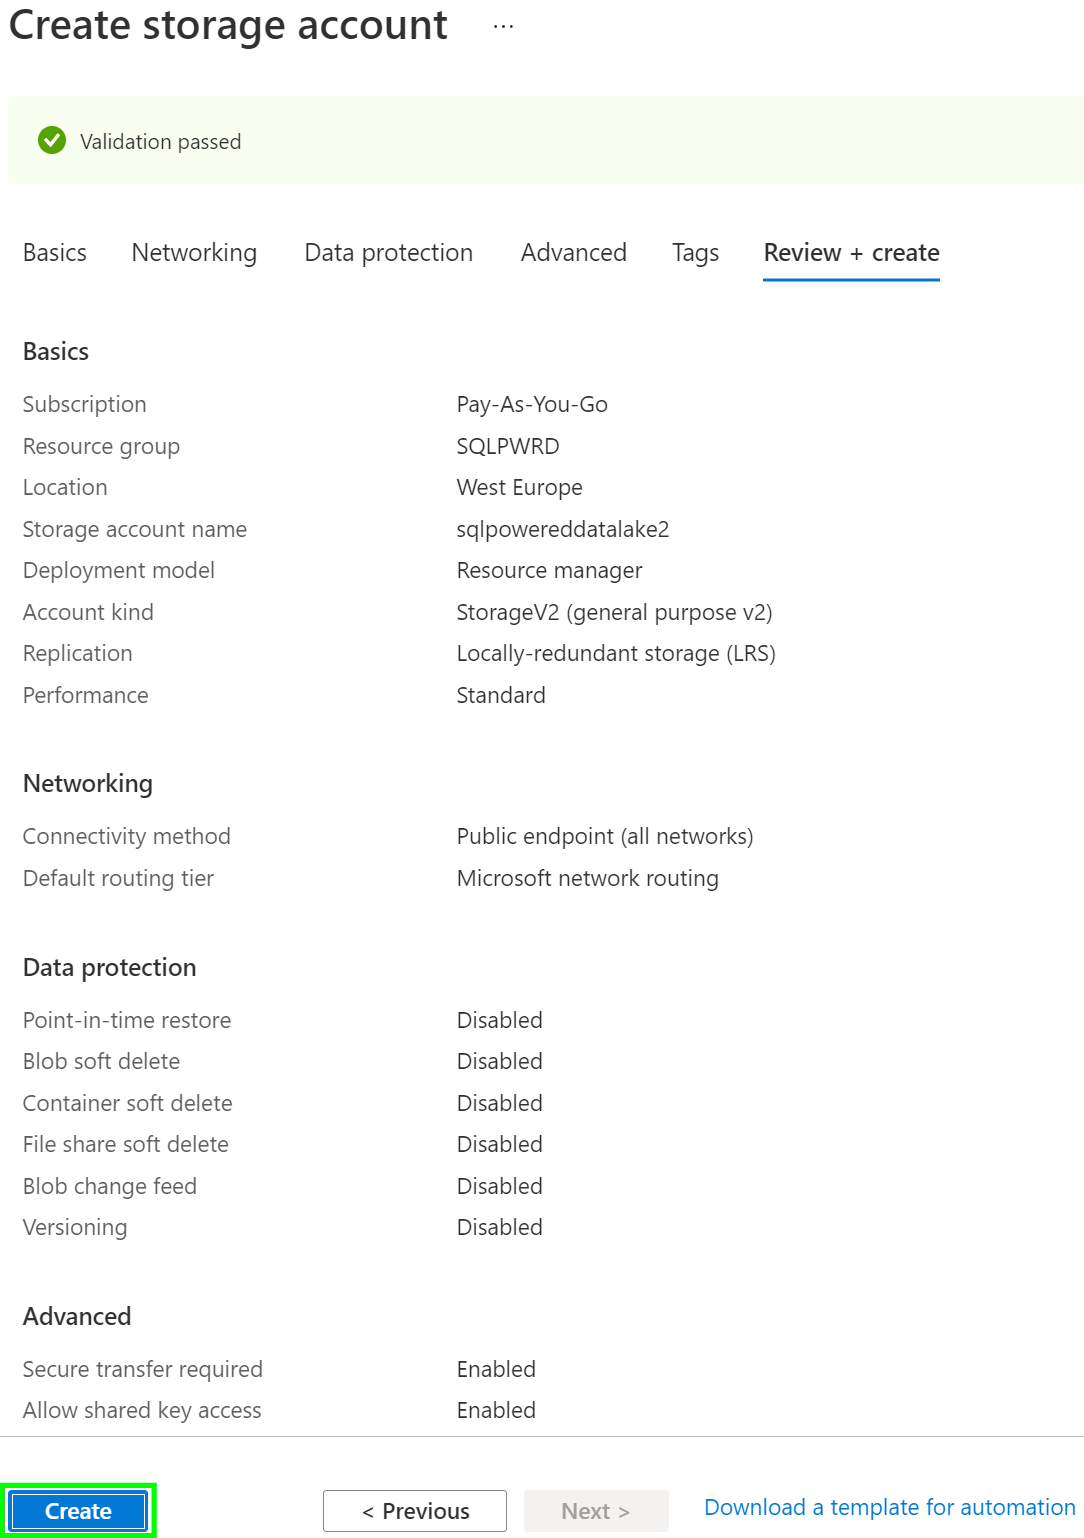
6.After a short period of time approval message should appear.
