In this step-by-step tutorial, we will create a new user in Azure Active Directory, sign him for the first time in the Power BI cloud service and promote him to be the Power BI administrator. This will allow the user to perform full administration of the organizational Power BI tenant.
1. Create a new user in Azure Active Directory
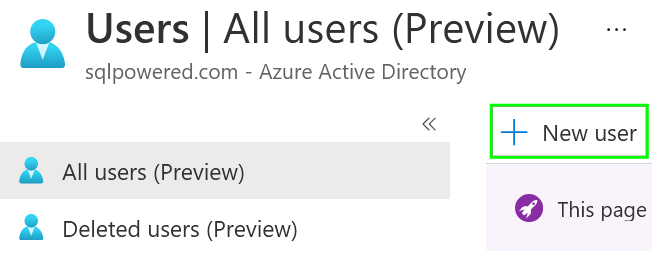
Log in to the Azure Portal, navigate to the Azure Active Directory item and click on Users.

Press the + New user button.
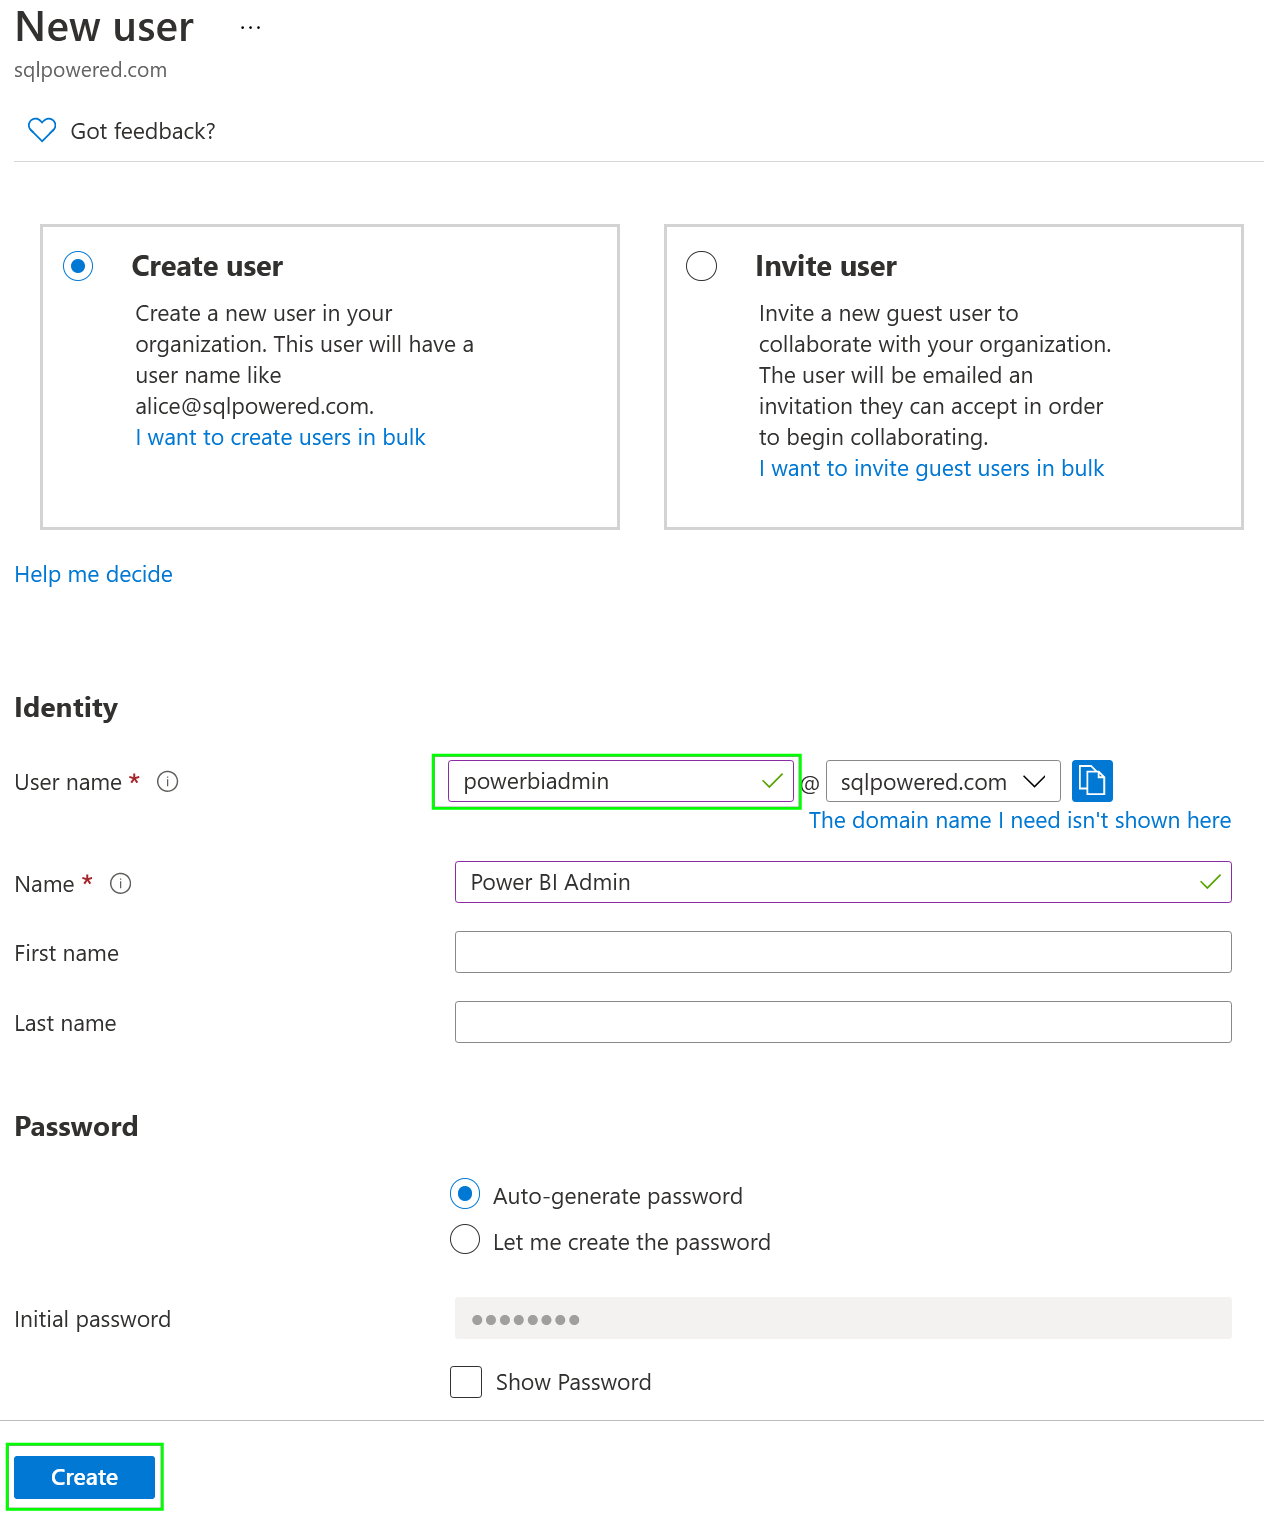
Create a new user. For this tutorial, we will call him Power BI Admin and powerbiadmin@sqlpowered.com account name (email address) will be used.
Don’t forget to click the Show Password box and note the password. We will need it in the next step!
When completed, press the create button. You should see the newly created user in the list of Azure AD users.
2. Sign in to the Power BI
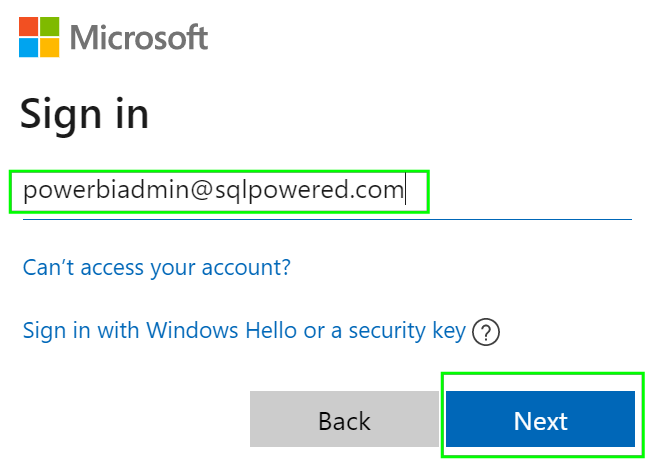
Go to the powerbi.microsoft.com and sign it with the credentials created above (user name (email) and password).

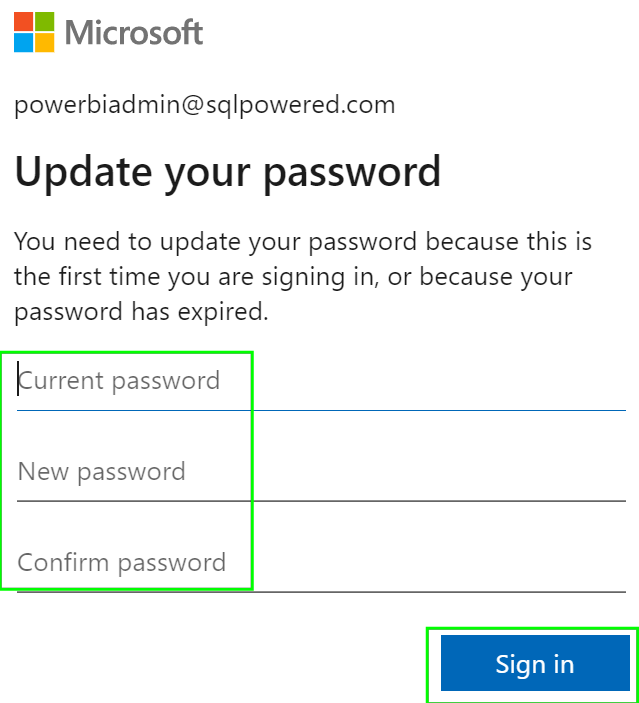
Because the password set in Azure AD is only temporal and must be changed the first time the user is log in to any Microsoft service, insert the current password in the Current password box and then insert a different new password which should be used by the user permanently and sign in.
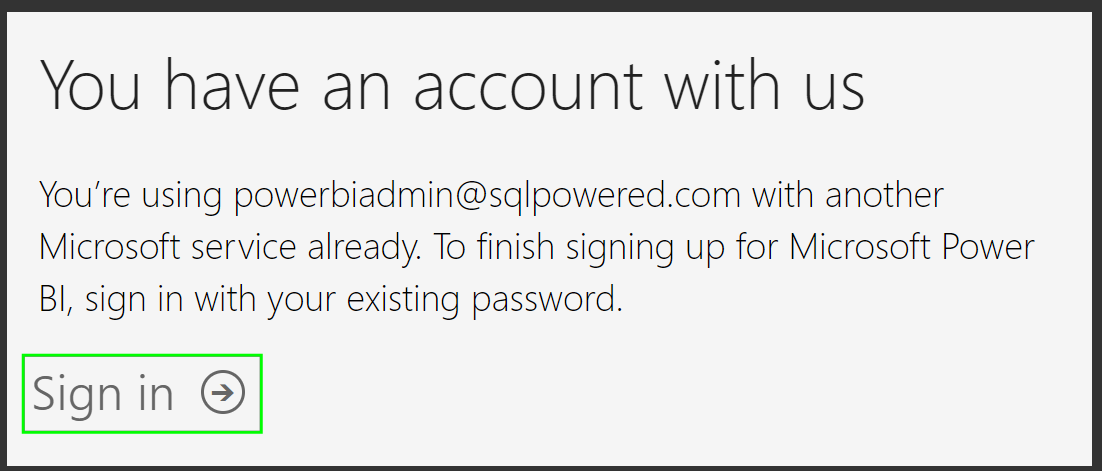
Now the password was changed and you will be notified that an account with the same name already exists and you need to sign in again with the new password set in the previous step. This is just a not very clear request to sign in again with the new password.
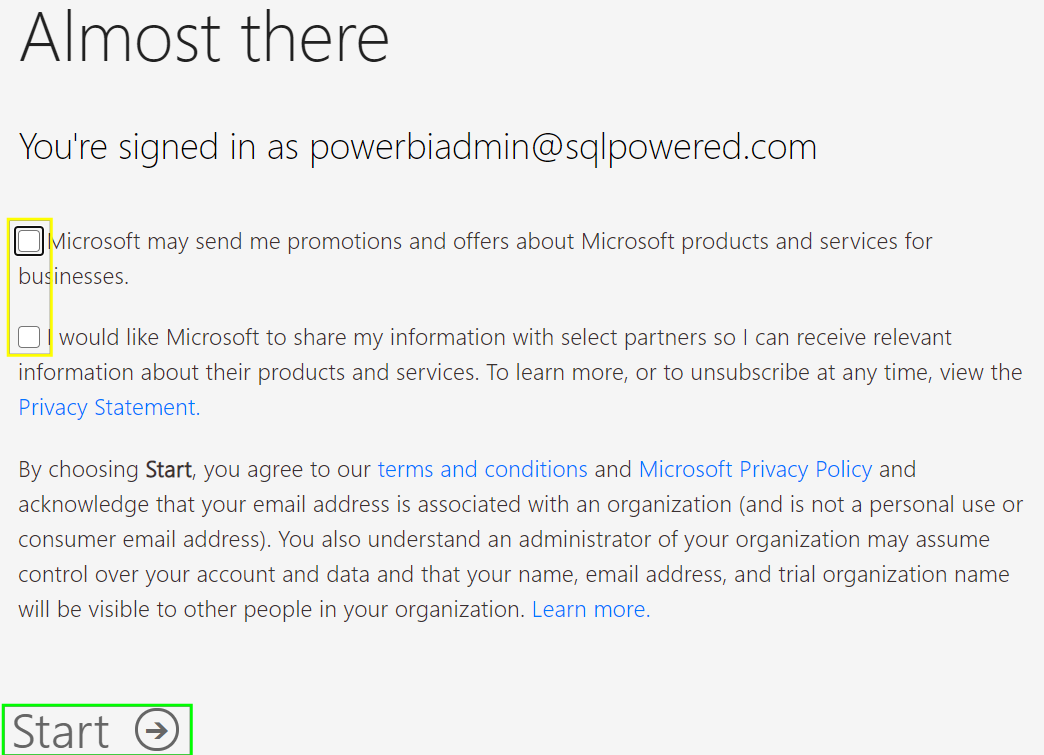
On the next screen you can opt-out from some Microsoft marketing materials. Set is base on your preferences and press the Start button.
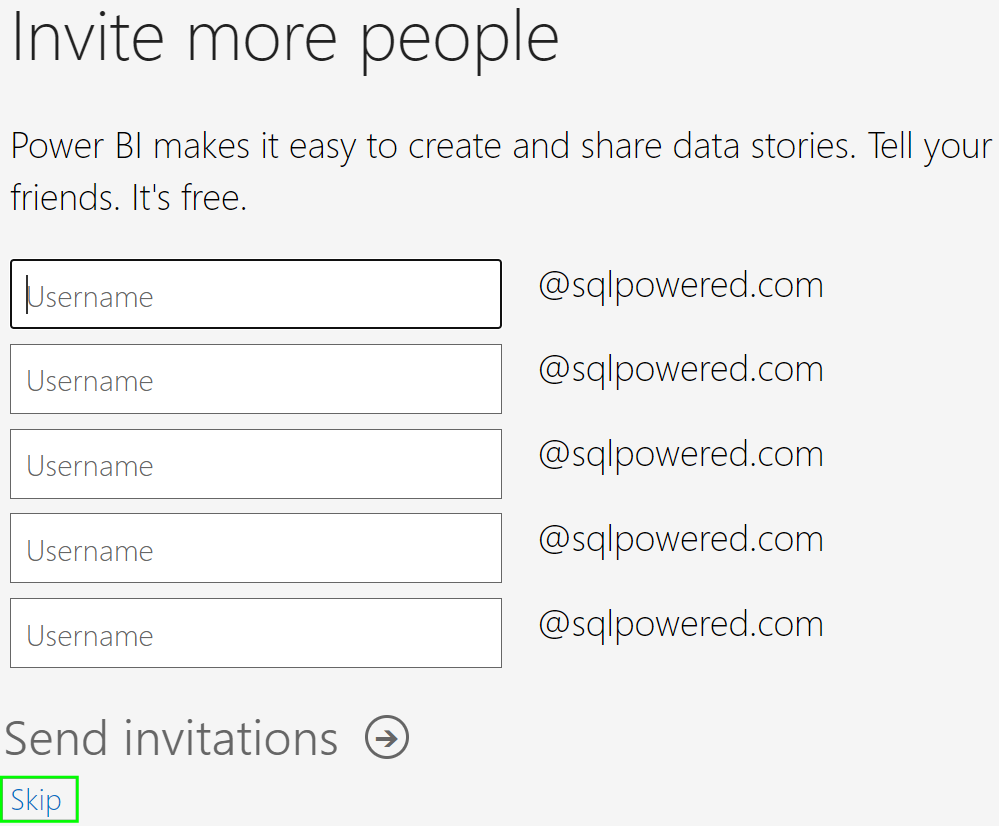
There is an option to invite other people to the Power BI Service. Just Skip it for now.
You should be successfully logged in to the Power BI Service Portal now.
3. Review the Admin portal setting
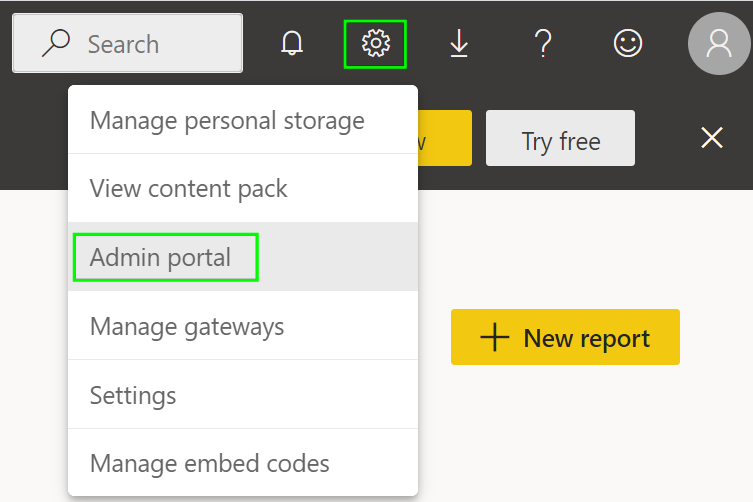
Press the circle in the top right corner and navigate to the Admin portal section. You can ignore the Power BI Pro offer for now. It doesn’t have any impact on the Power BI Administrator setup process.
What you will see is just this limited list. There is zero option to change anything on the tenant level.
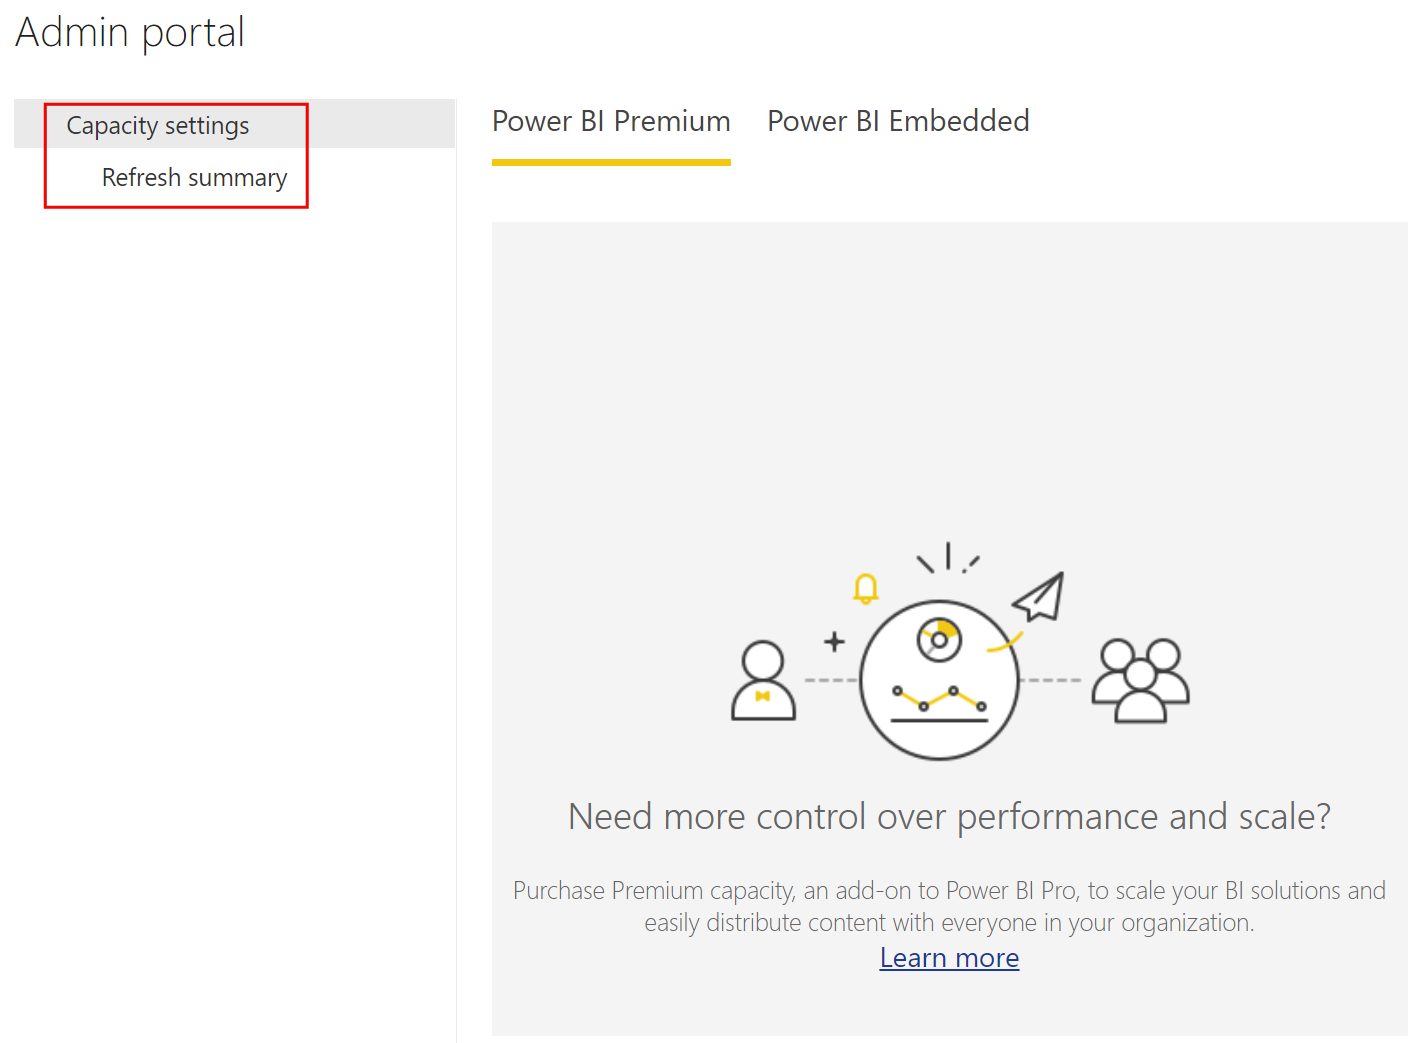
To allow more settings available here we must leave the Power BI Service portal and move again to Azure Portal to configure administrator access.
4. Assign user to the Power BI administrator role
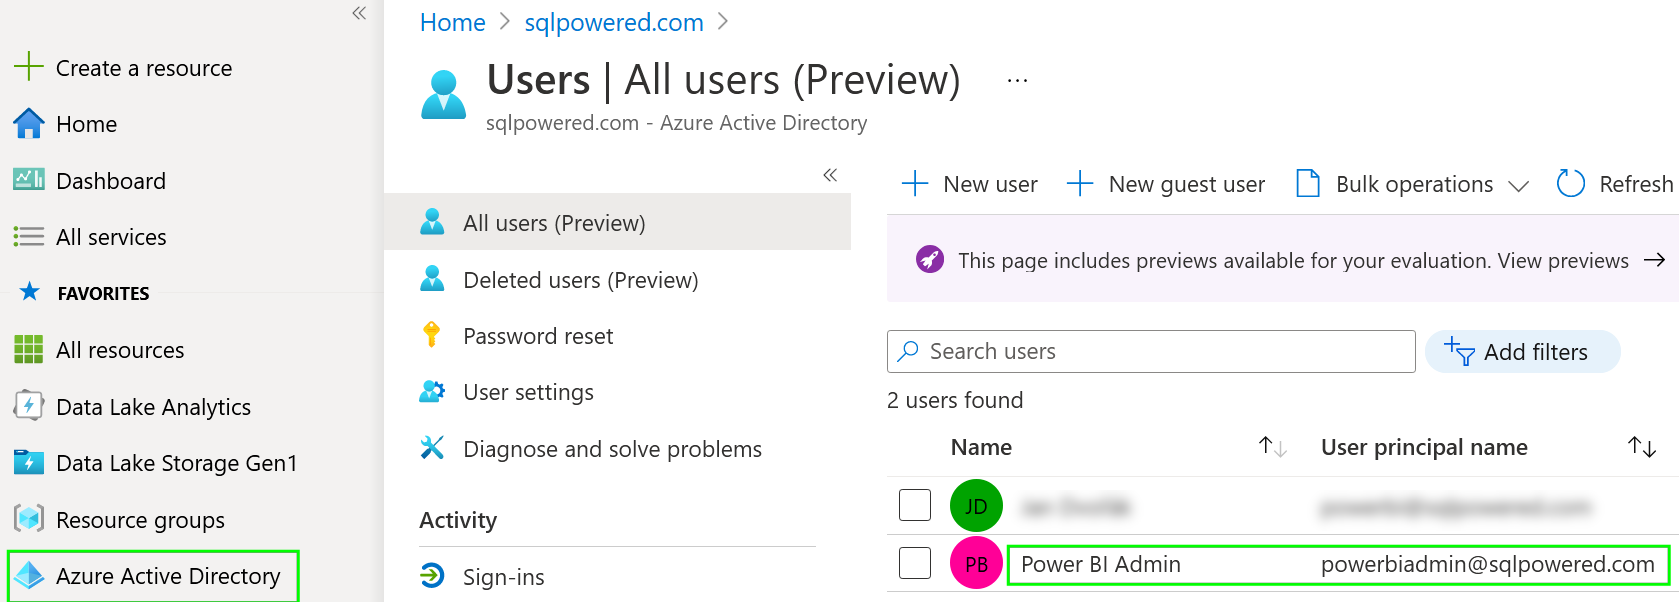
Go back to the Azure Portal, navigate to the Azure Active Directory, and list of users please select the one created above.
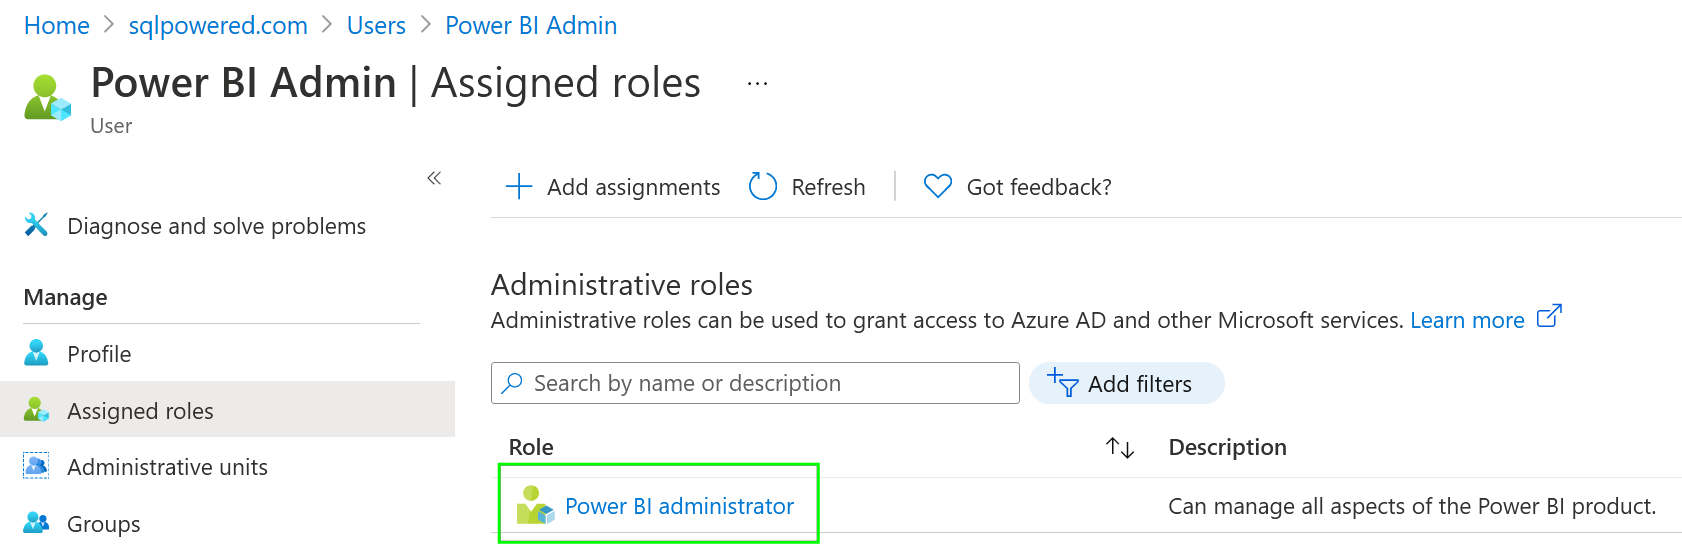
In the user’s detail click on Assigned roles, then + Add assignments and the filter for the Power BI administrator role. Select it and press the Add button.
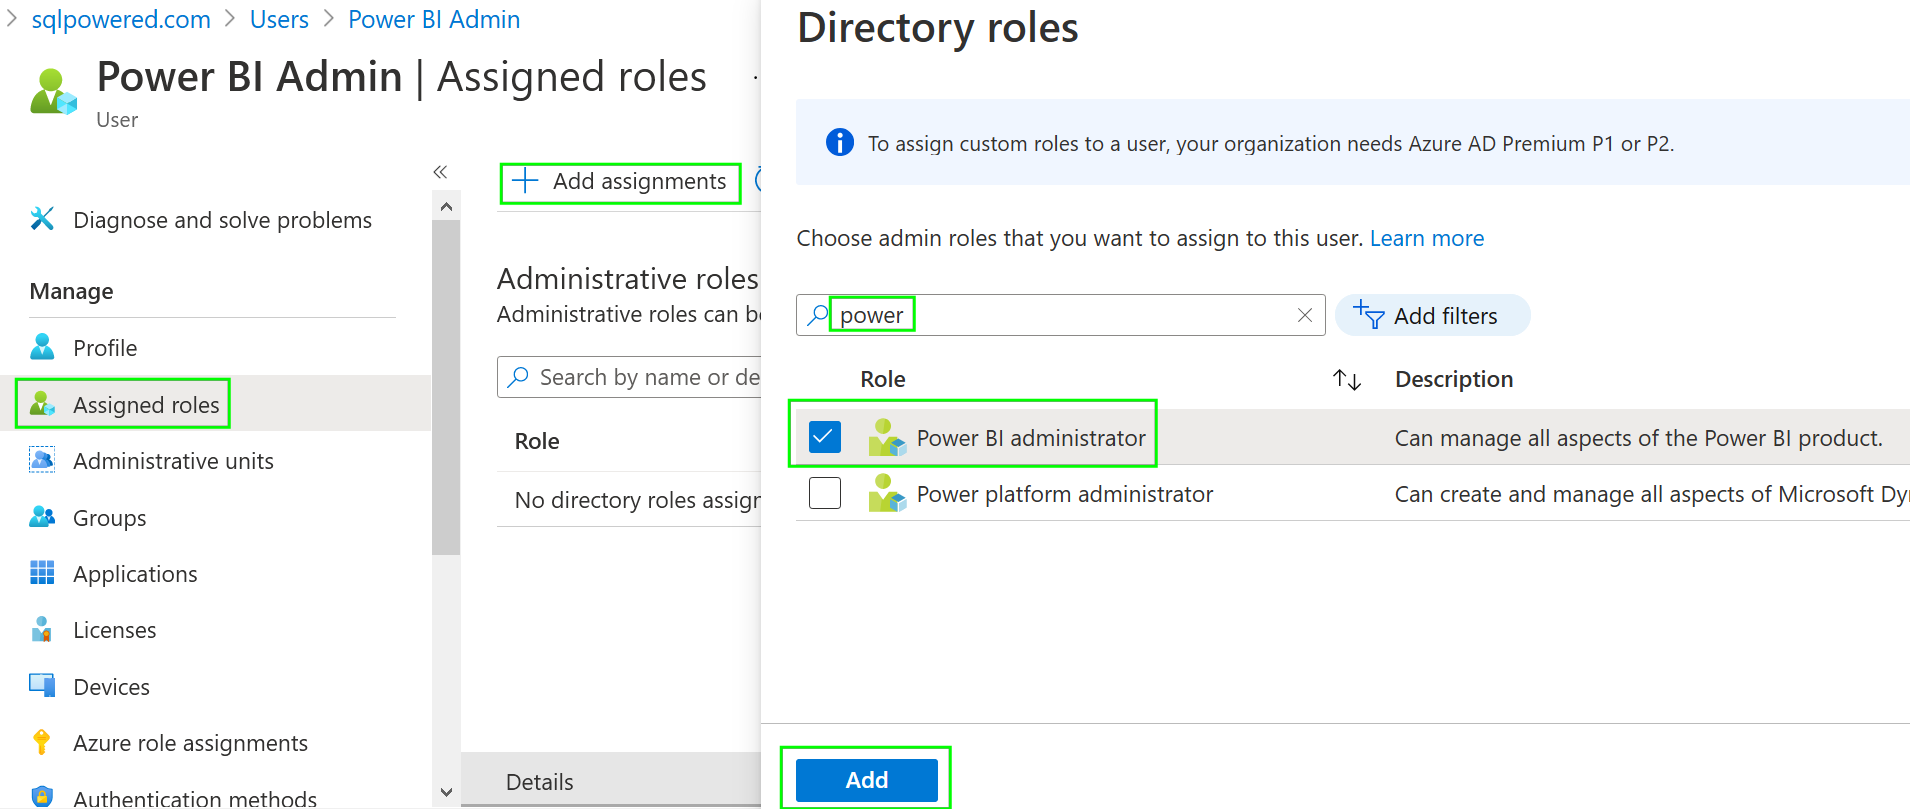
Our user is now assigned to the Power BI administrator role.
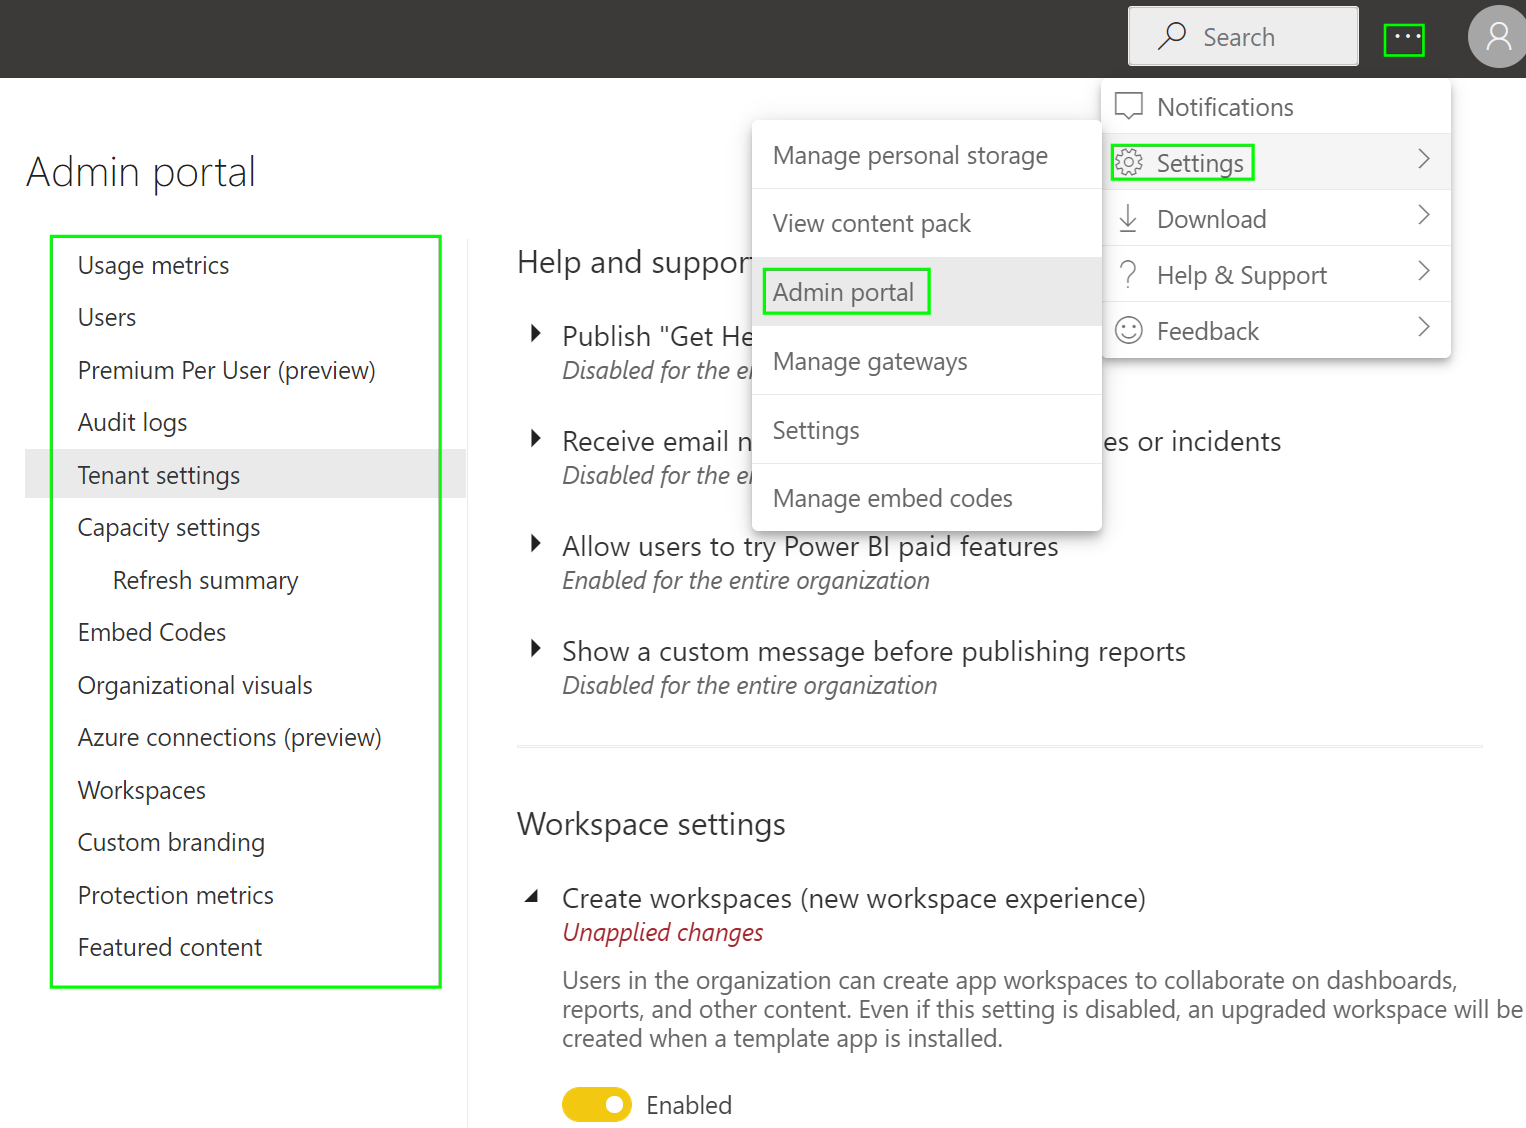
5. Review the Admin portal section in the Power BI Portal
When you will go back to the Power BI Portal and refresh the page you may see the full list of available administrative options and configure a lot of setting for the organizational Power BI tenant.
Note: If the simple page refresh doesn’t work you must sign out and sign in again. This will refresh your permissions list.
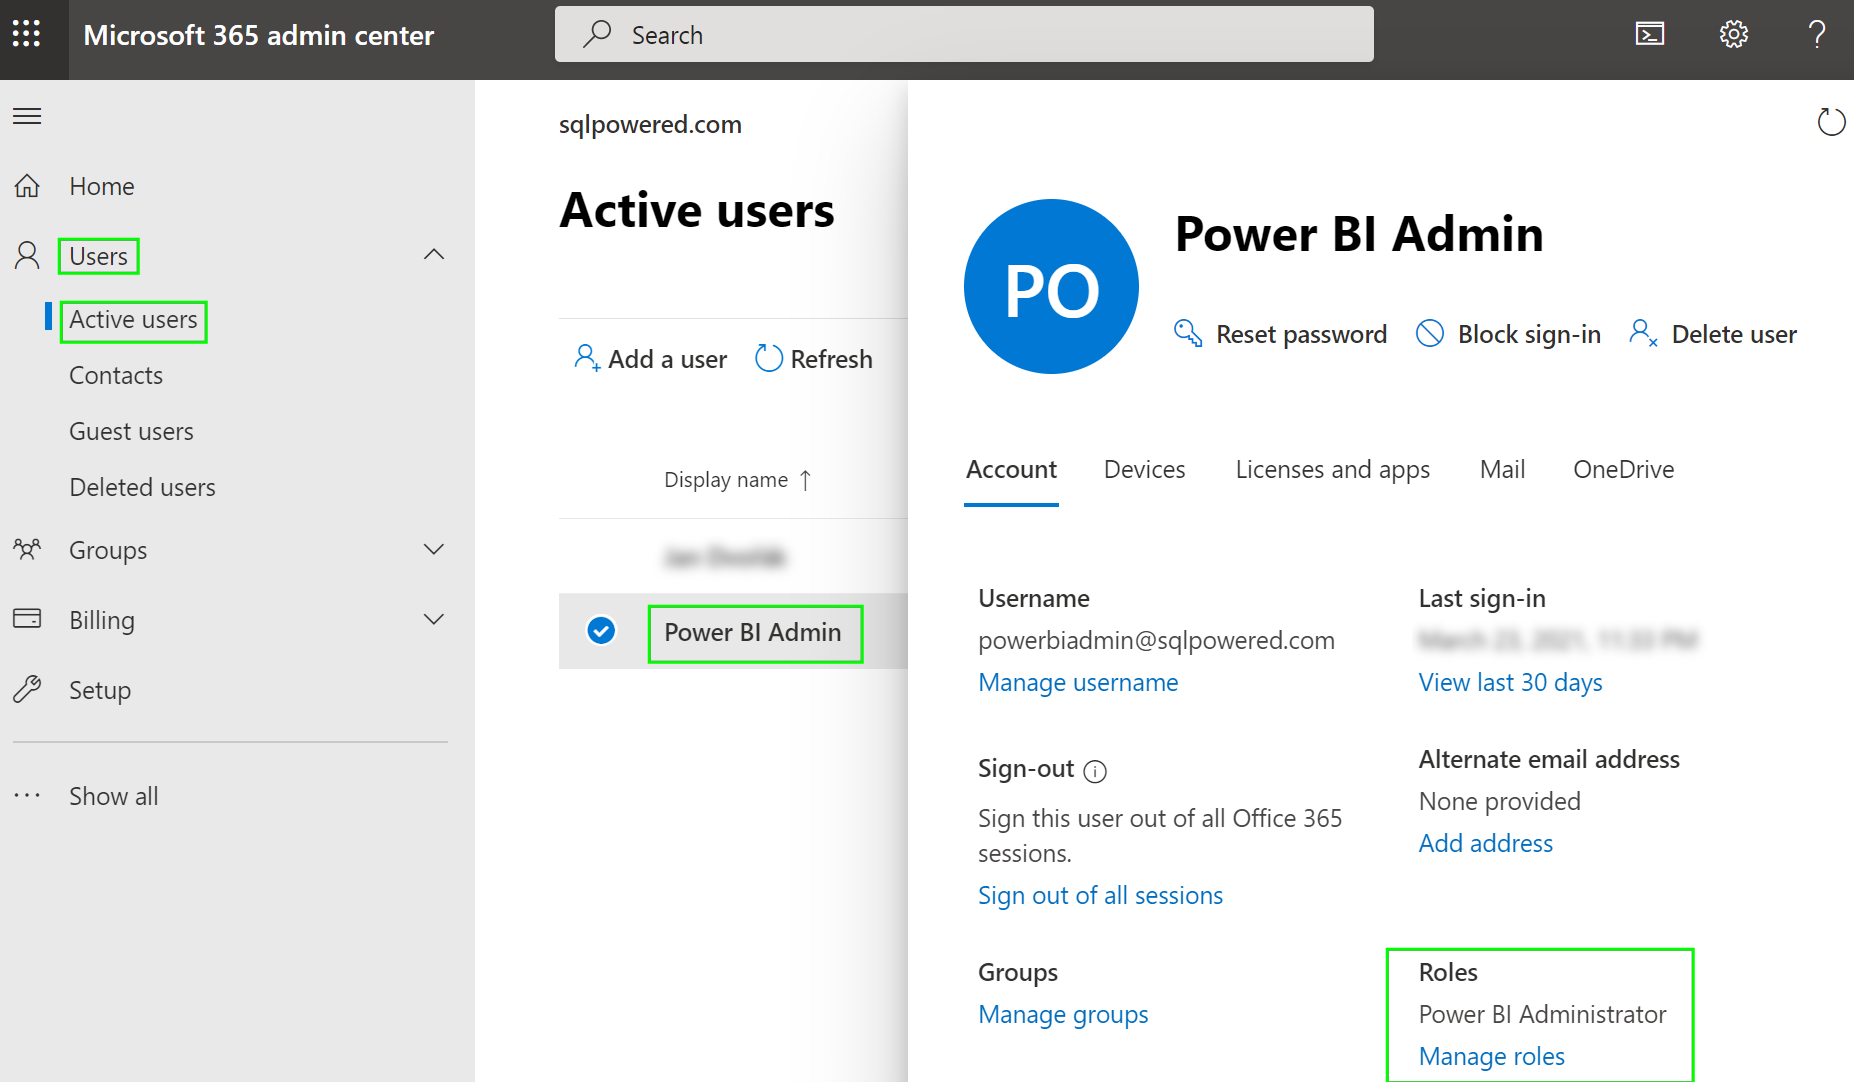
Alternative path: Office 365
Users can be assigned to the Power B administrator role also in Office 365 admin center. Sign in to the Office 365 Admin Portal, navigate to Users => Active user and select the user you will promote to Power Bi administrator. In the Roles section click the Manage roles link and then select the Power BI administrator role from the list and assign it to the user.