If there is a need to move data between local SQL Server instances (on-premise) and Azure SQL Databases we can use Azure Data Factory. But it isn’t the ideal solution all the time: it’s paid in some scenarios and not everyone is familiar with it. And the most critical issue with it is that we can’t easily execute SQL queries to join or copy data between on-premise and Azure using T-SQL. This is the time when the old friend Linked Server comes back to the game. Let’s configure one in a step-by-step tutorial.
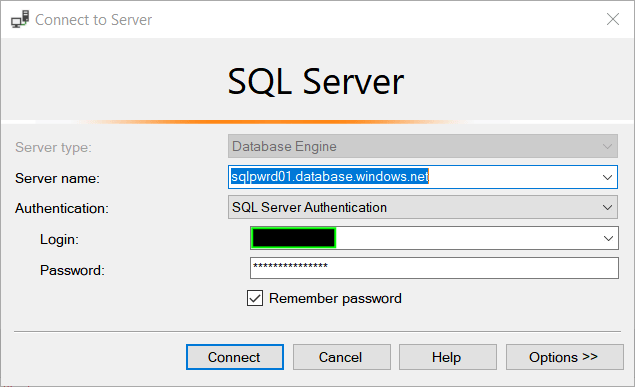
1. Create a new Azure SQL Database or use an existing one. Verify connection to it from SSMS. Copy the name of the server.

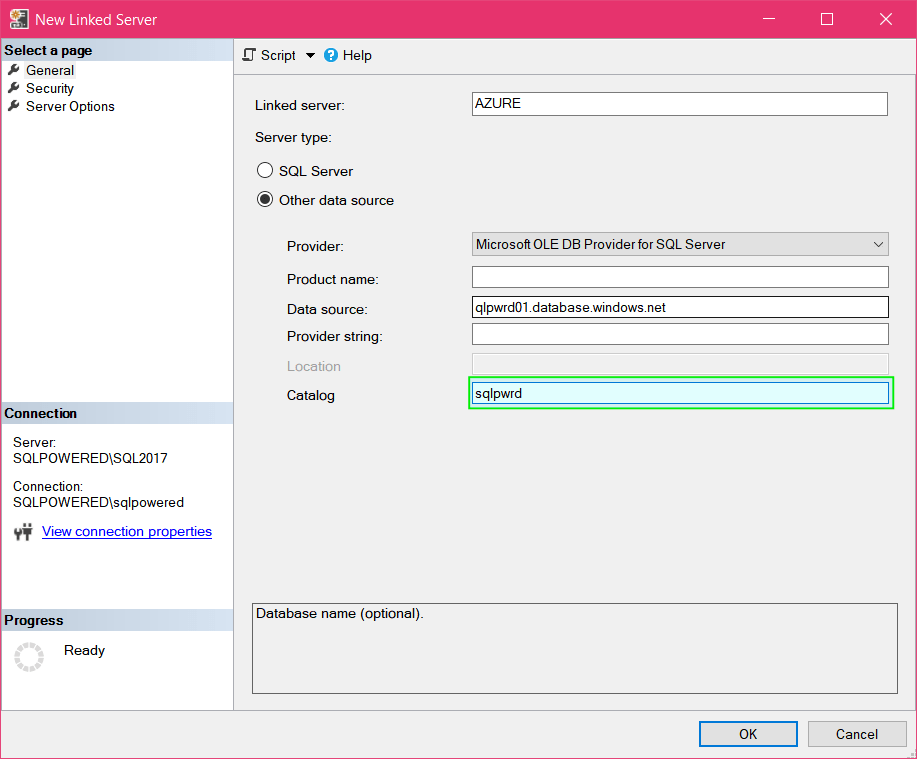
2. Create a new Linked Server and use the same server name as in the previous step (your Azure SQL Server URI).

Don’t forget to specify the database name. Without it, your queries via Linked Server will fail because they will be redirected to the default master database, but in Azure, there is limited permission to it.
3. Setup credentials. Create a new login and password in the Azure SQL database and type it there.

4. Setup Linked Server properties. You will probably allow RPC (Remote Procedure Call). That allows you to execute Azure SQL Database procedure via Linked Server remotely. The promotion of distributed transactions should be disabled because it won’t work in such a configuration. If Query Timeout is set to 0 it’s 10 minutes by default. You would like probably to change it because a lot of queries can be slower via Linked Server and reach that limit and timeout.

5. Press the OK button and check in SSMS that the new Linked Server was properly created.

6. Test linked server. Execute this metadata query from your on-premise SQL Instance.
SELECT *
FROM [AZURE].[SQLPWRD].sys.objects
GO
Youn on-premise SQL Instance is now connected with your Azure SQL Database and most of T-SQL code will work with some small refactoring.
Linked Server can be time to time bad guy. I will recommend this video to start with understanding its drawbacks.

1 Comment